READ: About PayHero
READ: Integrating your account with PayHero
READ: Step 1
READ: Step 2
READ: Step 3
READ: Step 4
READ: Step 5
READ: Step 6
About PayHero
We are very excited to announce our new integration with PayHero.
Aligning with our ‘make it easy’ vision, our latest partnership with PayHero focuses on reducing the level of administration associated with onboarding employees, managing leave requests, and processing leave in payroll.
With this integration, our leave management tool is transformed into a leave application and approval hub, allowing employees with MyHR self service to view their current and correct PayHero leave balances, apply and have leave approved, and then have the relevant leave data sent through to PayHero to allow for a seamless pay run to be processed.

 Integrating your account with PayHero
If you're an existing New Zealand PayHero user, follow these easy, step-by-step instructions to link your payroll to MyHR. If you're not using PayHero but are interested in seeing if it is the right payroll system for you, visit https://www.payhero.co.nz/.
Step 1
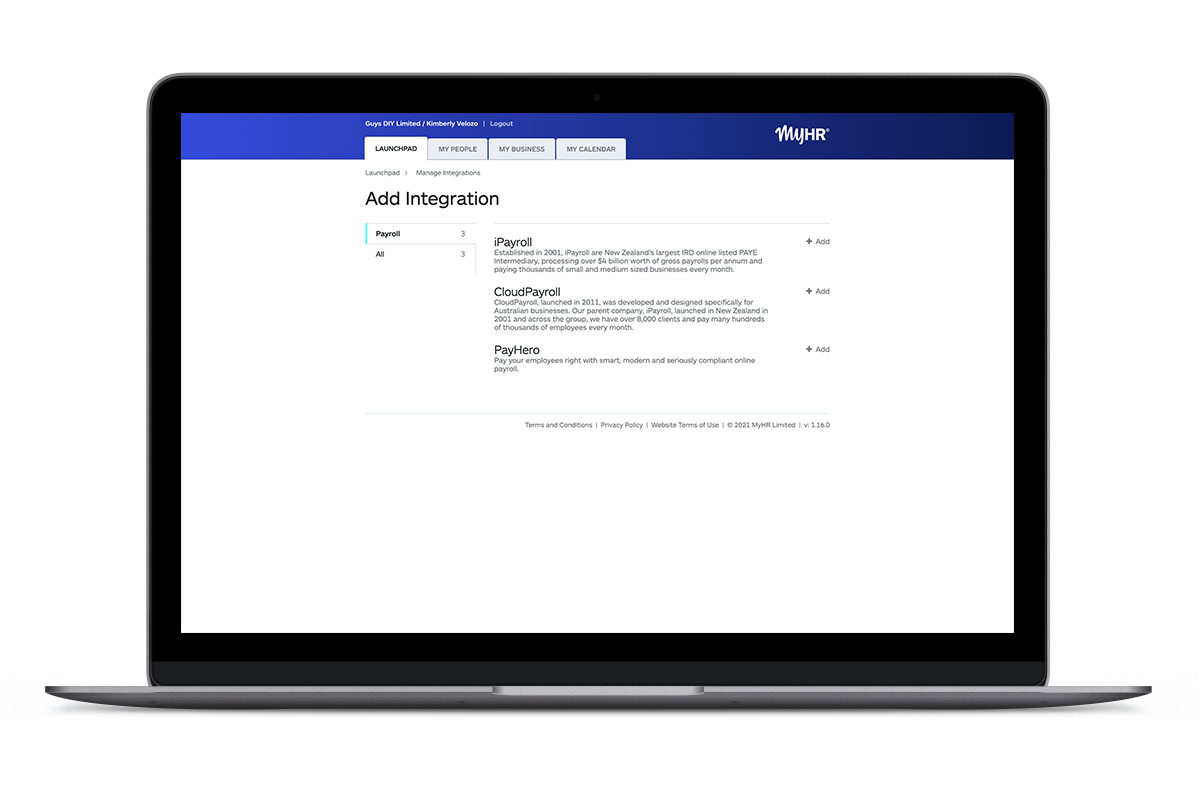
From your Launchpad, click your company name (top left). Select 'Manage Integrations'.
Step 2
Click on PayHero to begin your setup.
Step 3
Log in to PayHero and click on ‘Manage’ then on ‘Integrations. Click the green ‘Connect’ button next to MyHR. This will reveal your secure API key. Copy this to your clipboard.
-png.png)
Step 4
Back in MyHR, paste the API key you copied from PayHero into the box, then click on 'Authorise MyHR to access my PayHero'.

Step 5
Complete the 'PayHero - Complete Setup' form to customise how your PayHero integration will work, then click 'Save'.
-
Whether to add employees to PayHero automatically when they sign their agreement (recommended to save you the manual step of adding the person across)
-
Which leave balance types to show to management and which to show to your self-service employees
-
Whether to send approved leave to PayHero if it's for a period the employee has already been paid for (recommended to prevent having to manually add this leave)
-
Who your Payroll Administrator is
Step 6
- Link to PayHero - NZ person: if you already have your employees loaded in PayHero Payroll, you should be able to select the matching employee from the drop down list
- Add to PayHero - NZ: if your employees are not yet loaded in PayHero Payroll, you can send across the employee details which will create the link between MyHR and PayHero Payroll. Head on over to PayHero Payroll after this to complete the employee information.
Once the integration is complete, everything you need to manage the integrated systems is located within the Manage Integrations area of MyHR. From here you can sync, remove, and add people not initially set up, as you wish.


We understand that each of our clients’ businesses are different, and the level of information you want to display to your teams will vary, so we've made this integration customisable. This means you can elect to show managers and employees different leave balances in MyHR, ensuring discretion where preferred.